| Previous | Home | Next |
The table can be create only after when we have create any database, because the table is a contents of database i.e. it cannot exist independently. The table can be create in two ways in which we are accessing the mysqlGUI tool as defined in the installation page. they are:
- Create table by Command through query browser
- Create table by UI
Create Table by Command through query browser
Open the Query browser window, rite and run the few commands one by one, as define below:
USE databasename
use is command to show that we in the selected database, without using this command an error occur i.e. No Database Selected, so this is the main command which provide entry into the named database. Now, we are in the database so creating a new table into the database we have the following command syntax are:
Syntax
CREATE TABLE tablename (columnname1 columntype1(size),
 columnname2 columntype2(size), columnname3 columntype3(size));
Now we have create a table into the previously created database(i.e. college),it command is.
Example
CREATE TABLE studs( id int(2) not null primary key auto_increment,
 fname varchar(20) not null, age int(2) not  null);
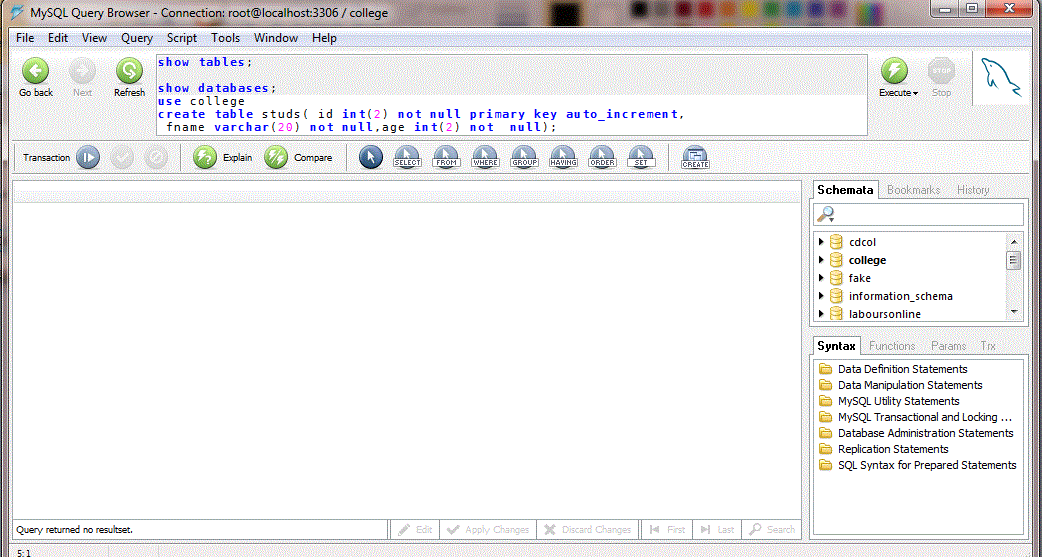
Result does not show any table view, it can be confirmed by a simple text message "Query return no resulset. if you want to see the table list in which we are in the current database, then rite and execute the below command".
SHOW TABLES;
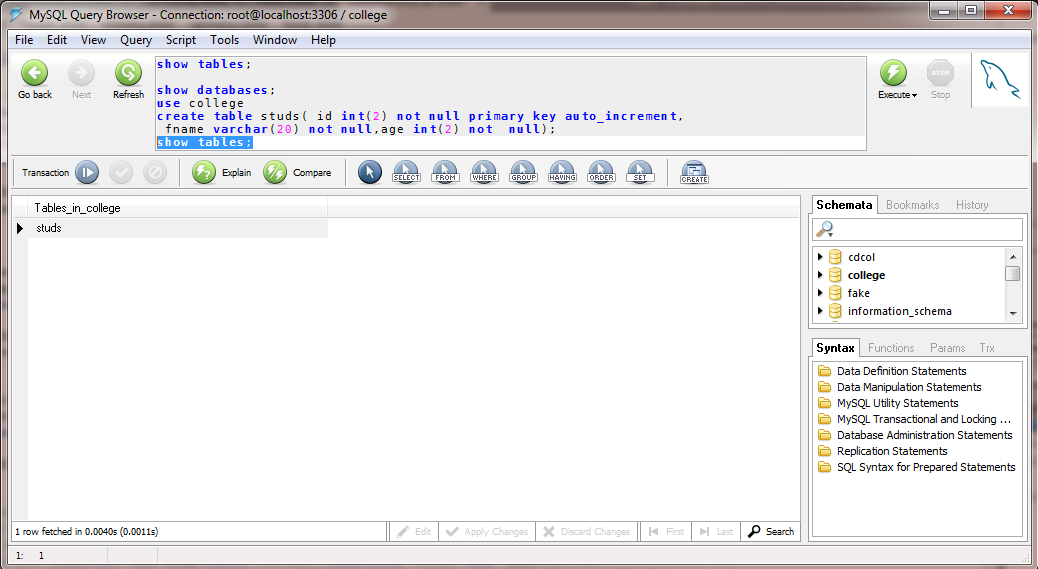
the table name is shown in the result block. If you want to again check the designed table, then we have the following command.
DESC tablename;
e.g. DESC studs
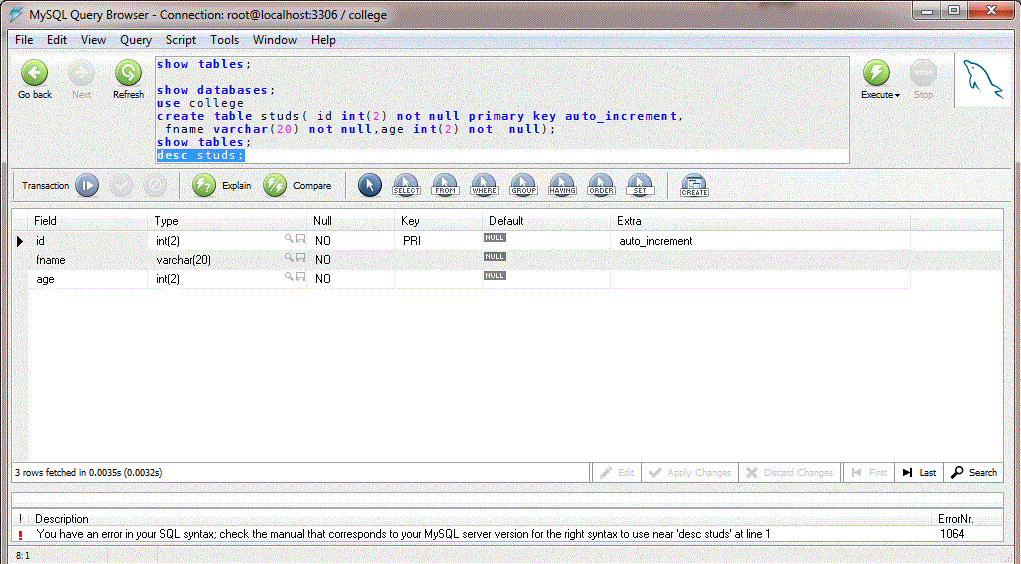
Create table by UI
open the Catalog Window as define in the previous page , then select the database in which you want to create the table , the right click on the selected database , then select "Create New Table", as the imgae is given below.
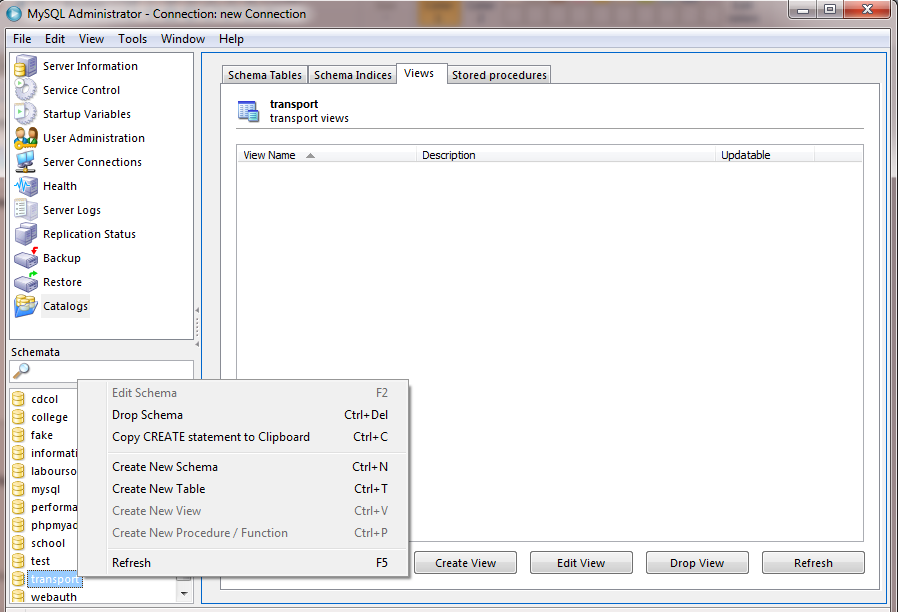
A new popup window is appear, in which we can create column as much as we want including column name, data type, null or any special requirements.
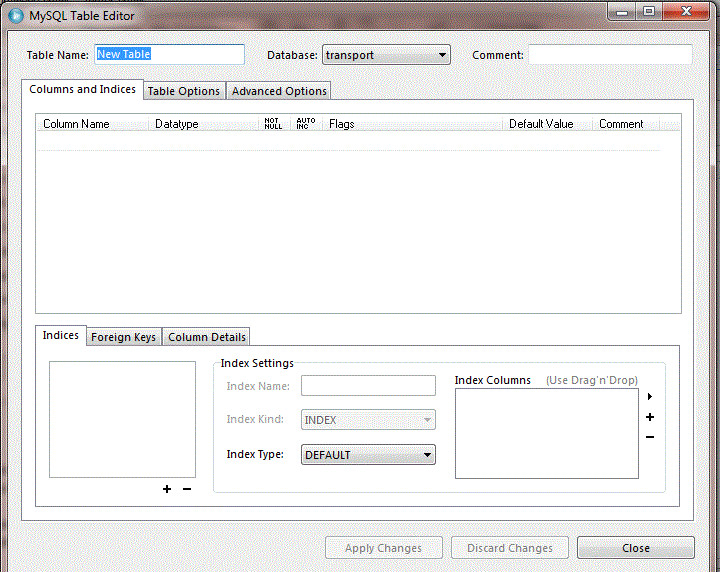
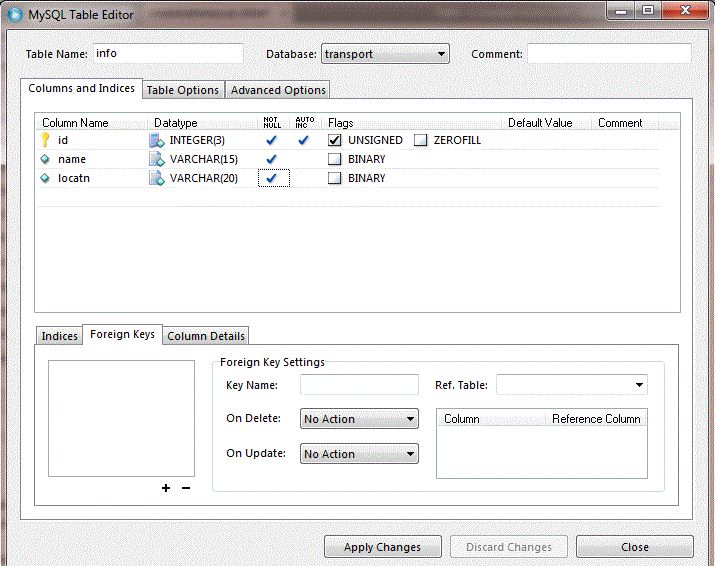
Inserting values into the table form and the press Apply Changes, as the following images is given below.
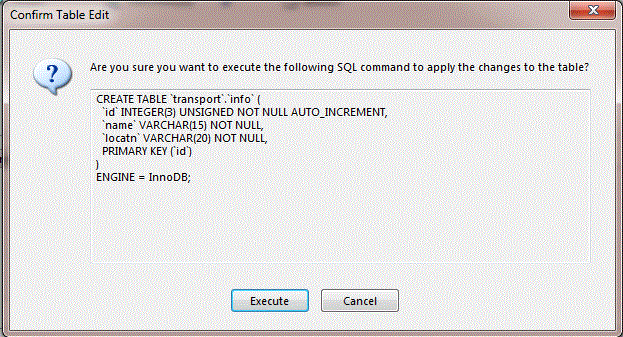
again a confimation block is shown , then press Execute button.
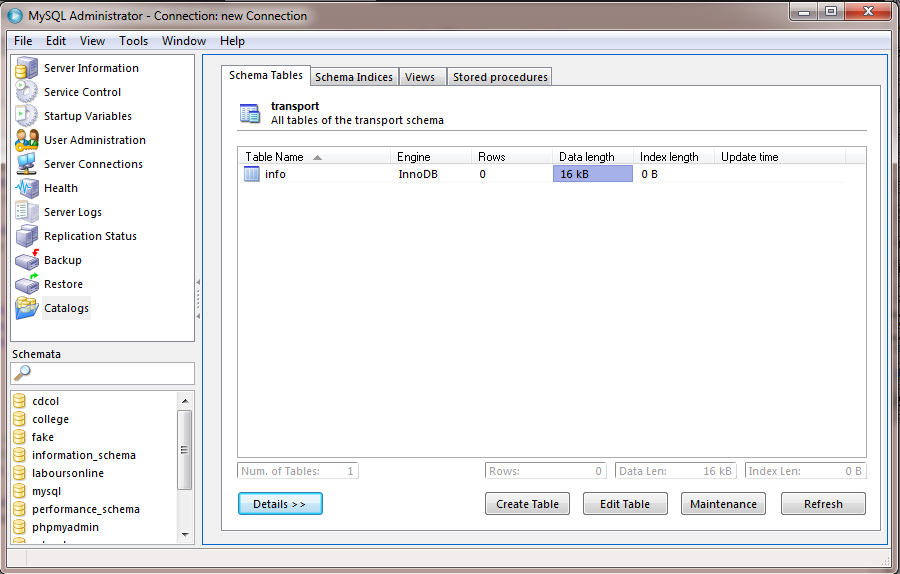
click on the Refresh button , The final view of created table as shown in the below image.
| Previous | Home | Next |